


Installing Visual Studio on Windows, Mac, and Linux
In this article, we will go through each step necessary to get our installation of Visual Studio up and running on Windows, Mac, and Linux systems. Installing Visual Studio can set us up with some confusing prompts now and then, so let´s make sure to make quick work of them. Before that, though, let us learn a bit about Visual studio.
To summarize, Visual Studio is a powerful and comprehensive integrated development environment (IDE) for Windows, Mac, and Linux. As a versatile platform, Visual Studio provides developers with a comprehensive set of tools for building applications across various platforms, including desktop, web, cloud, and mobile.
The IDE’s intuitive user interface, powerful code editor, and integrated debugging and testing tools make creating and maintaining code easy. At the same time, its flexible architecture allows you to extend the platform with a wide range of plugins and extensions to suit your specific needs. Whether you’re a seasoned professional or just starting, Visual Studio has everything you need to create great software.
The platform’s support for Windows, Mac, and Linux operating systems makes it a truly platform-agnostic solution, allowing developers to work on the platform of their choice. With Visual Studio, developers can use an all-in-one solution for building applications across desktop, web, cloud, and mobile platforms without restrictions or licensing costs.
Alright, now that we all know what exactly it is that we are getting ourselves into, let’s get this piece of software installed already, starting with Windows, naturally.
Installing Visual Studio Community Edition on Windows
To install Visual Studio Community Edition on Windows, follow these steps:
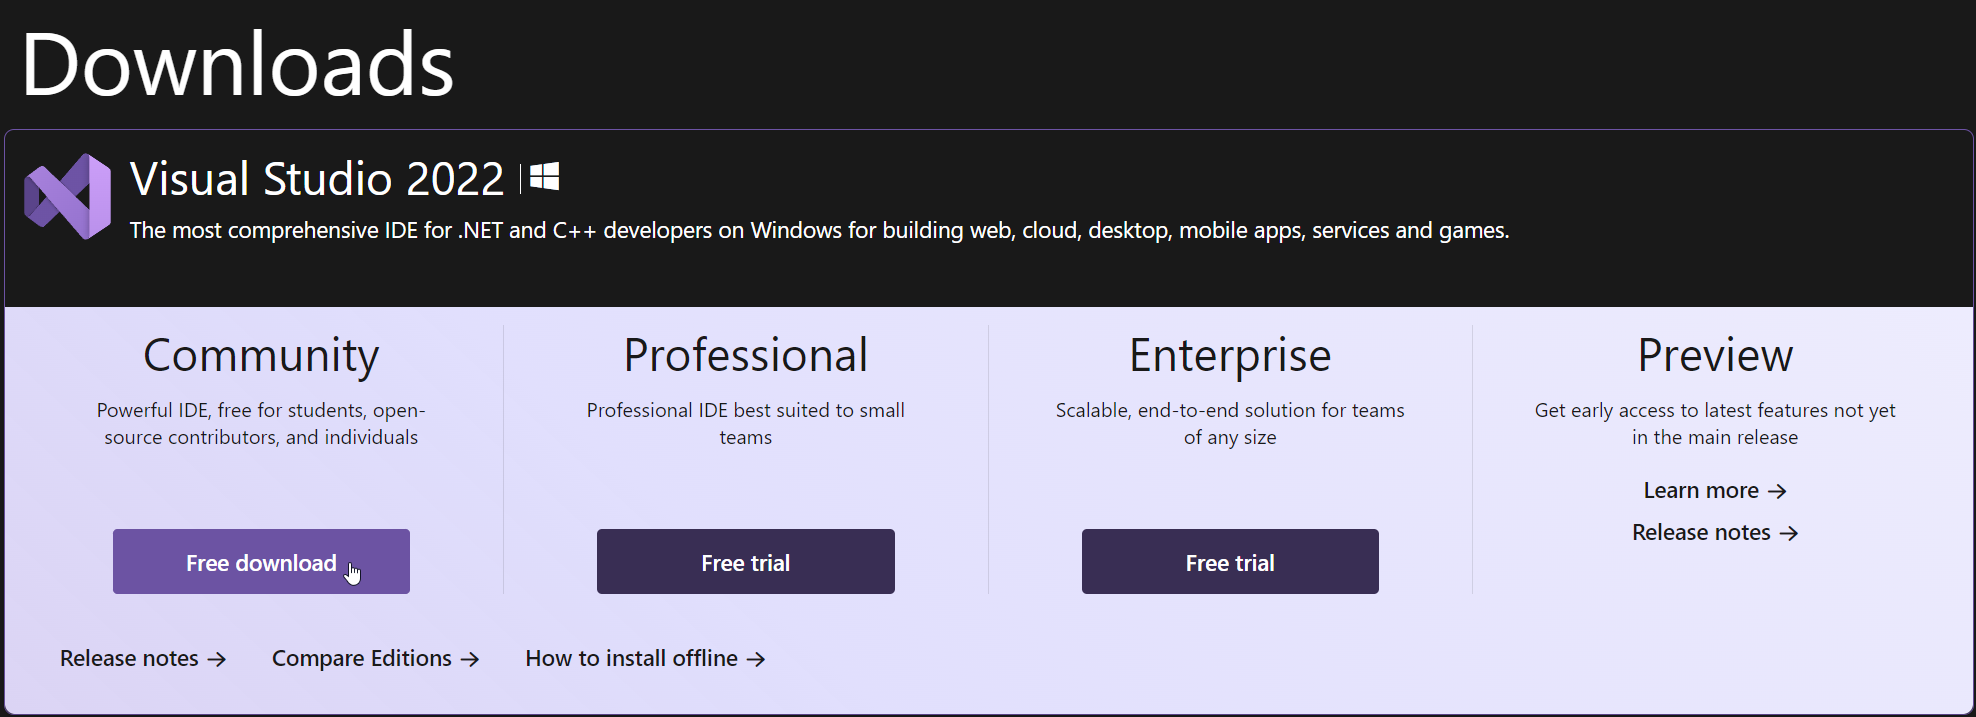
- Go to the Visual Studio download page: https://visualstudio.microsoft.com/downloads/
- In the first section, the download links are meant for Windows, so we can directly click on the “Free download button”. As seen right here:
- Once the download is complete, run the .exe file to start the installation process.

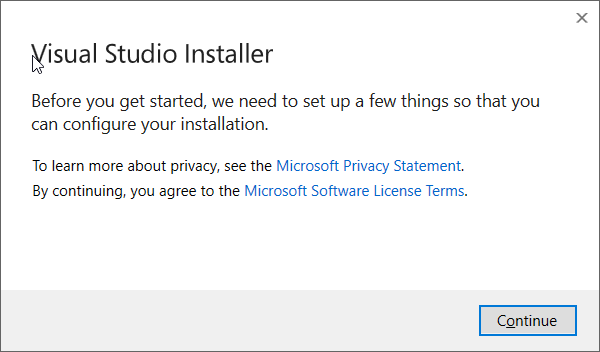
- Make sure to accept the popup that you will get. You might need to introduce your system´s password.
- Permit the executable to set up what it needs.
- Then, you will find yourself in front of the Visual Studio Installer. At first, you will probably be on the “Installed tab”. There you will see that nothing is currently installed on your machine. To work with C# and .Net, we will be using Visual Studio Community Edition, to be exact, the 2022 edition. This may be different for you depending on the time that you are watching this. However, the process should continue being the same. So. to find our IDE, click on the “Available” tab and find the latest available version. For us, that is version 17.4.4. And click on Install.

- This will pop up the Installation options screen for you. Here you can customize your version of Visual Studio to best fit your work. If you do not know what to choose here, just follow our steps, and you should be fine for most situations. We will discuss these selections in the next point.
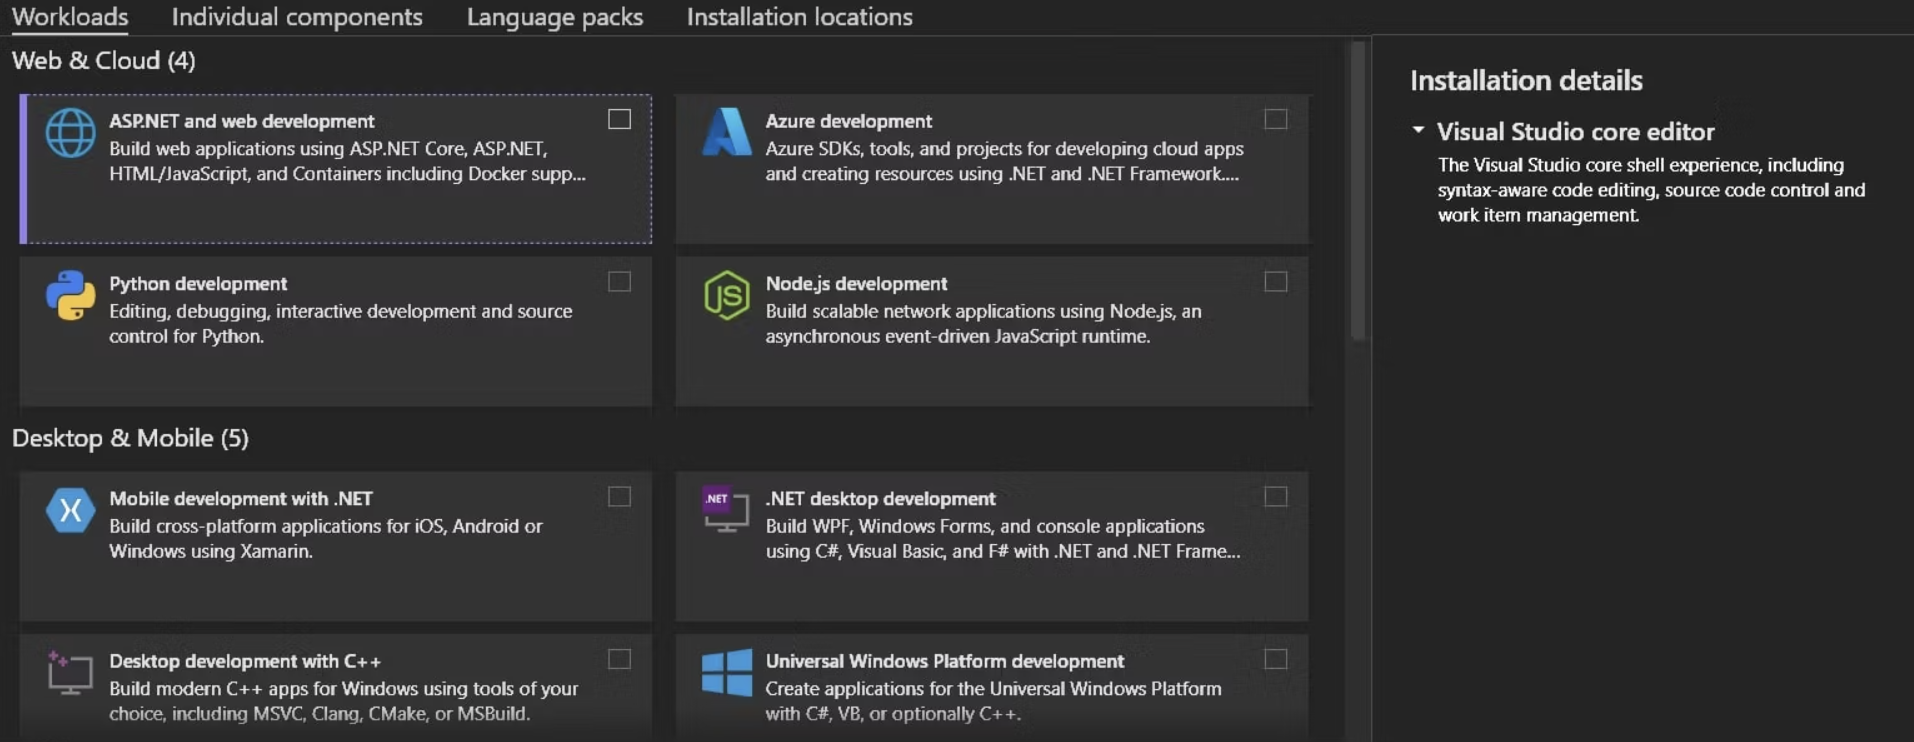
- So as for what to choose for your custom installation, ultimately, this decision depends on you, but with the following options, you should be set for most use cases:
- .NET Desktop Development. This focuses on creating applications using C#, F#, and Visual Basic and features a GUI for windows forms development and .NET profiling tools.
- ASP.NET and Web Development: This allows the development of ASP.NET Core applications as well as various other web development platforms.
- Game Development With Unity: Designed for C# programming on the Unity engine and includes the Unity Hub installation software.
- Game Development with C++: For Game development with C++ based engines, like Unreal Engine.
- Azure Development: Provides all necessary components for developing on the Azure cloud platform.
- Desktop Development With C++: For building cross-platform desktop apps using C++ and includes MSVC v143 build tools and C++ profiling tools.
- Visual Studio Extension Development: Provides tools for creating extensions, plugins, and add-ons for the Visual Studio 2022 Integrated Development Environment (IDE).
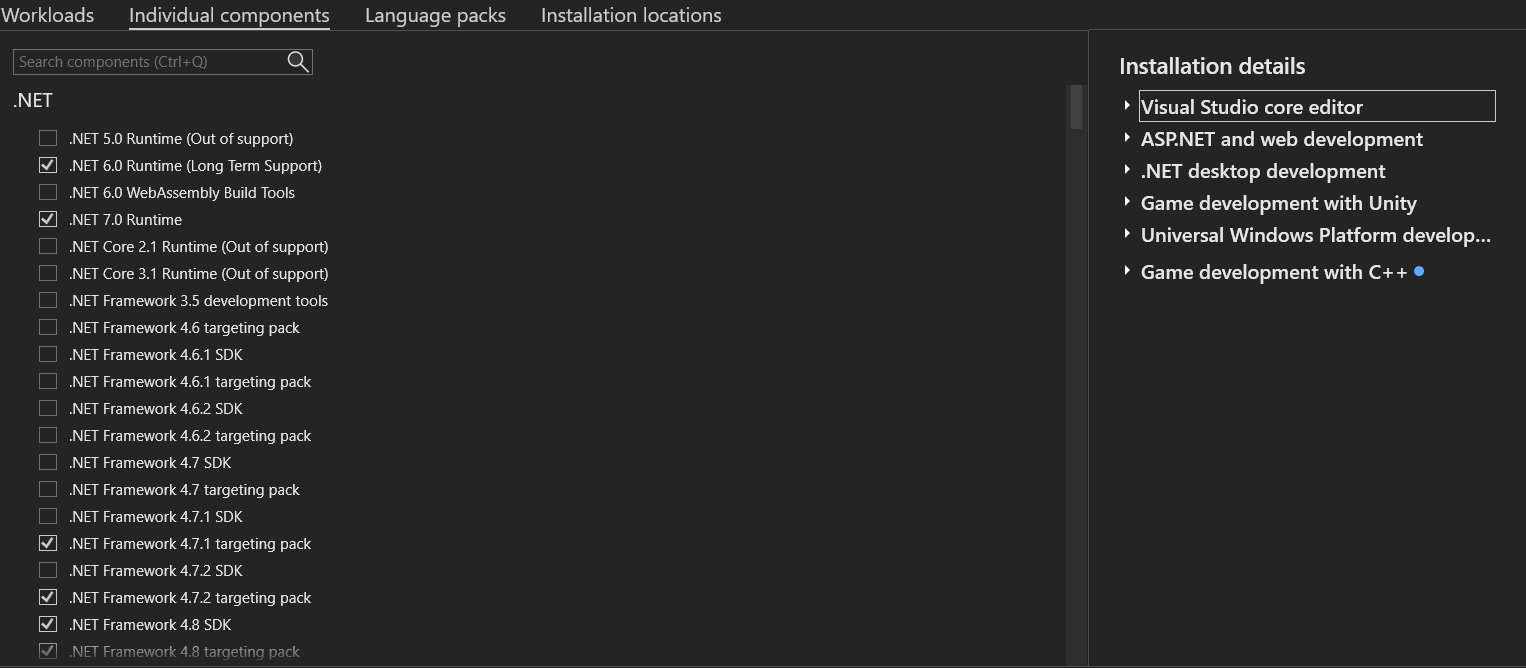
- After you have selected your desired workloads, we can get to the rest of the options. We will keep this brief since generally these do not need to be modified, especially not if this is your first time downloading Visual Studio. So, starting with Individual Components. We can see a broken-down version of the previous tab essentially. However, the most important point is that you have both .Net 7 as well as .Net 6 (Long term Support) selected, at least for 2023. As .Net 7 is still new, most applications that you will encounter will make use of .Net 6, so having it installed so to be able to continue working on them is recommended.
- As for Language packs, unless you need any other languages, we recommend sticking to English to keep us working in the current industry standard environment. For our non-English speakers out there, we will insist in that learning to program in English is practically essential in this day and age, so, if possible, try doing so. Nonetheless, you can always select any other language if that works better for you.

- Finally, simply select where you want to install it, for ease of use, simply keep it in the default folder. If you have a dedicated folder you prefer to use, you can select the installation location in the “Installation Locations” tab.
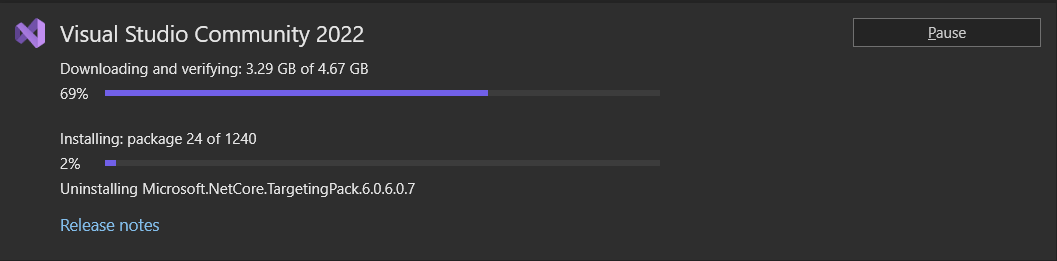
- Once done, click on “Install while downloading” at the bottom right and your installation should commence.
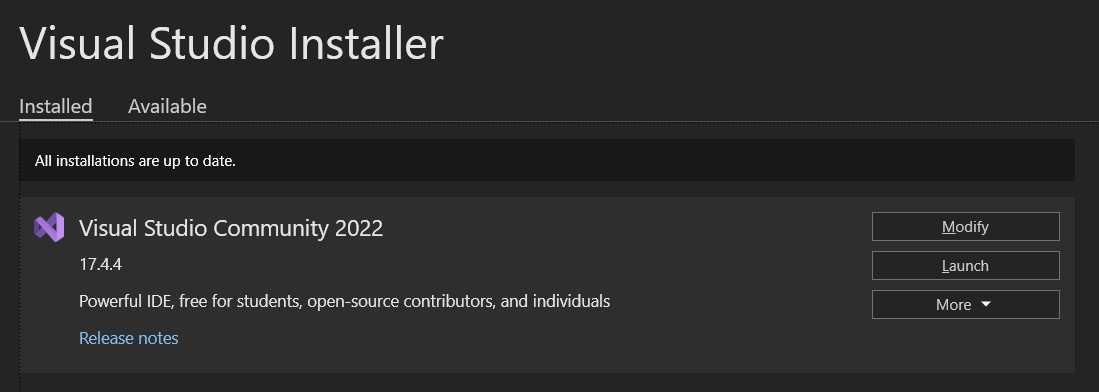
- After our installation, we can find our installed copy of Visual Studio Community Edition within the “Installed” tab.
And that is it for our installation process! Now we can launch Visual Studio and start developing apps! No matter what you are after, from web apps, to mobiles apps and video games, Visual studio will aid you with the best tools the industry has to offer. By the way, if you are interested in learning how to do just that, check out our other blog articles! Like this one about the Bubble sort algorithm in C#! Or if you want to start your C# adventure from the bottom up, do not hesitate and start our 7-HOUR FREE C# Course! You might see .Net 6 there, but most of what you’ll learn is applicable to .Net 7 as well!
For this article though, it is time to switch to our brothers in other operating systems, although not much should change, let us see what you need to know for the installation of Visual Studio for Mac and Linux, starting with MAC!
Installing Visual Studio for Mac
Luckily, both MAC and LINUX should be fairly straightforward for getting a working installation of Visual Studio. For example, Mac has a download link directly below the previous link for the Windows installation. Nonetheless, let us go through the steps that vary slightly in this point-by-point guide.
- Go to the Visual Studio download page: https://visualstudio.microsoft.com/downloads/
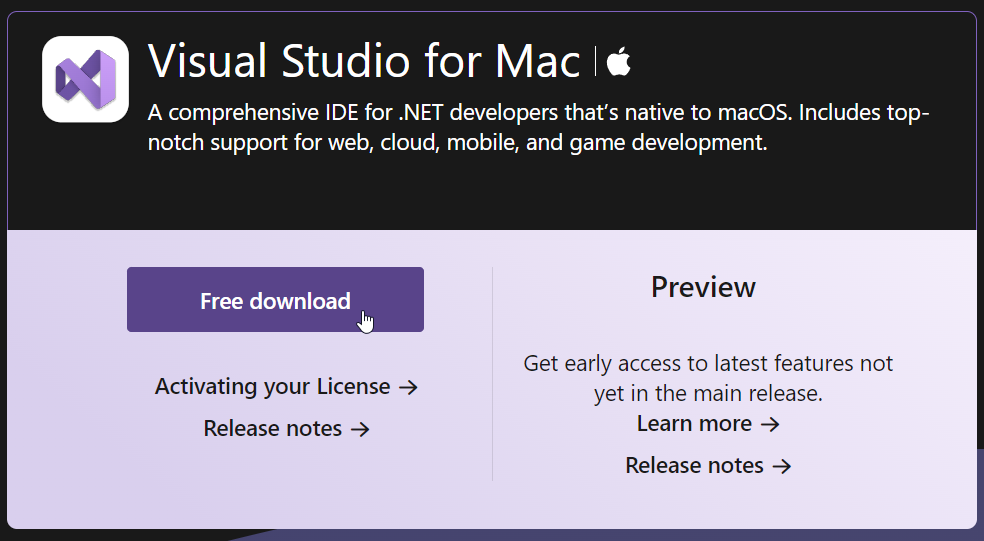
- Right below the first section, we can find the option for “Visual Studio for MAC”, so we can directly click on the “Free download”. As seen right here:
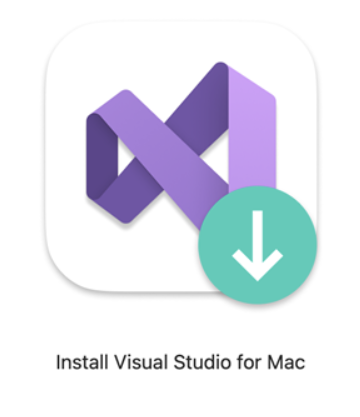
- This will directly download a .dmg file to our system. If we execute this we should simply be able to click on “Install Visual Studio for Mac”
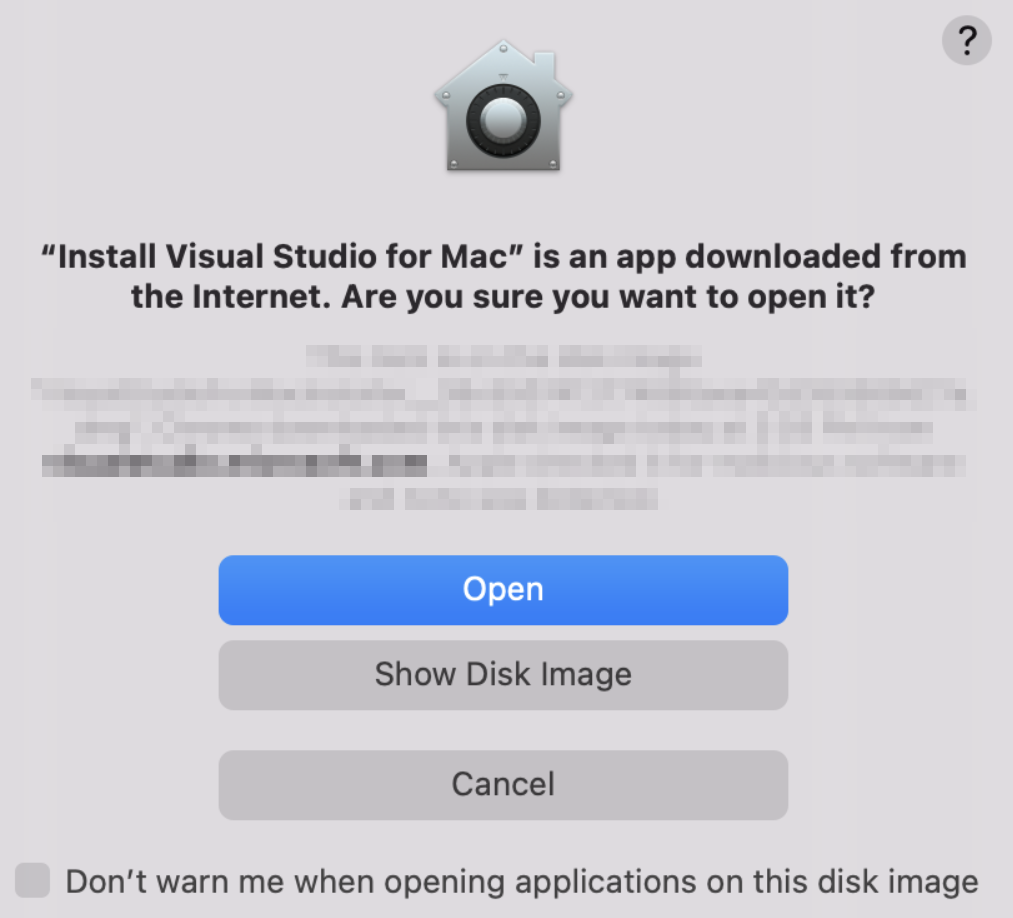
- Next, we may be prompted with a warning about the application being downloaded from the Internet. Just select Open.
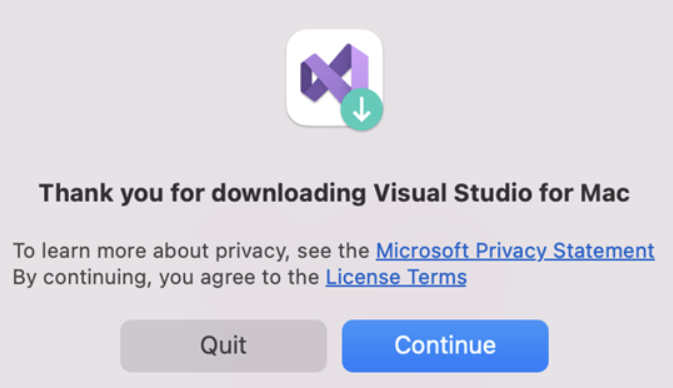
- You will be prompted with an alert to acknowledge the privacy and license terms. Please follow the links to review them, and select “Continue” if you agree.
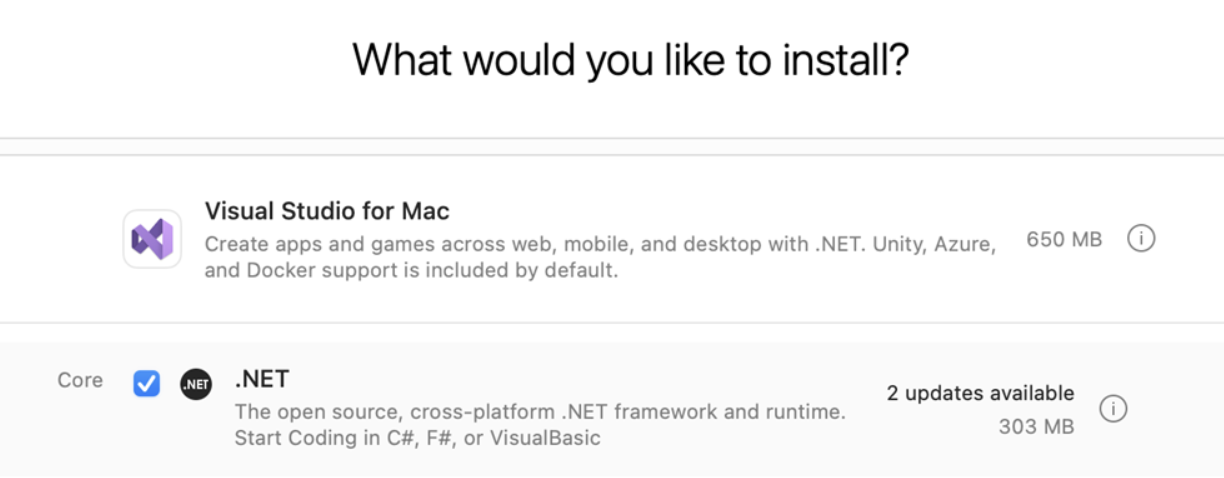
- Then, similarly to the Windows installation, you will get prompted with a set of options to customize your Visual Studio installation. These options depend on your use case, however, if you want to learn more about each component, and what to choose, you can check a bit earlier in this article where we discussed these options. If you simply want it installed and are not sure of what you need, simply follow our next steps to get a basic general installation of Visual studio running. You can always come back later and install additional components if need be. We will be installing components for our use cases, which generally only encompass C#, .Net, and Unity. So the component you would need to select would simply be the .NET platform, as there is no need to install anything else to be able to work with what we need.
- Once you have made your choices, click on the “Install” button. The installation process will then show you its progress as it downloads and installs Visual Studio for Mac along with the selected workloads. You will be asked to enter your password to grant the necessary privileges for the installation to proceed.
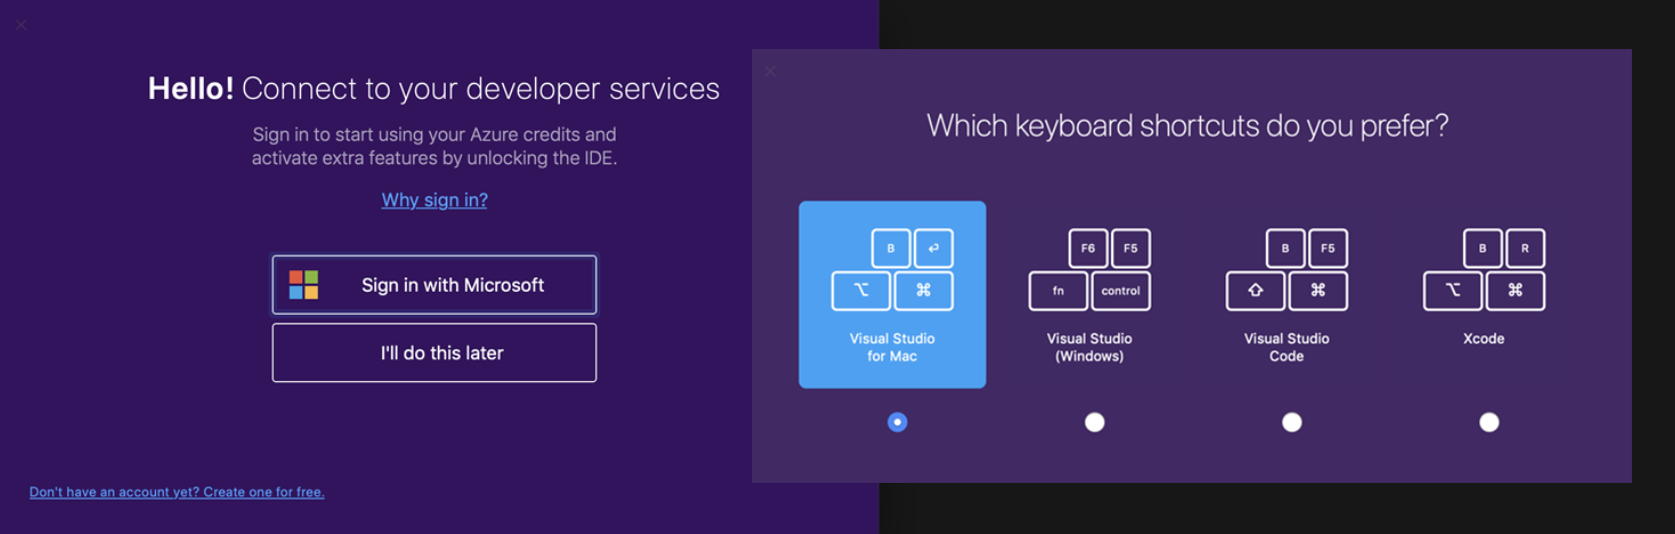
- Upon completion of installation, Visual Studio for Mac will prompt you to personalize it by logging in and choosing the key bindings of your preference.
And you should be done! You should have your Visual Studio Installation up and running on your MAC. Ready for development! By the way, if you are interested in learning how to do just that, check out our other blog articles! Like this one about the Bubble sort algorithm in C#! Or if you want to start your C# adventure from the bottom up, do not hesitate and start our 7-HOUR FREE C# Course! You might see .Net 6 there, but most of what you’ll learn is applicable to .Net 7 as well!
But now, we must tackle our biggest foe yet, installing Visual Studio on LINUX!
Don´t worry, it´s actually pretty straightforward, so let´s get to it.
Installing Visual Studio Code on Linux
Let´s get straight to the point, we have no time to waste in the Linux community, so what do we need to get Visual Studio Code going on Linux? Well… we can´t, not officially, at least. However, Microsoft allows the option to install Visual Studio Code for Linux-based systems. Visual Studio Code, although not exactly the same as Community edition, is just as capable of developing .Net applications, so, knowing that, we will be just doing that.
- To continue working the way we did with the other two systems, go to the Visual Studio download page: https://visualstudio.microsoft.com/downloads/
- We can find the option for “Visual Studio Code” below the first section, so we can directly click on “Free download” and select the .deb version. As seen right here:

- Once we have it downloaded, we can now find our downloaded file in the “Downloads” folder.
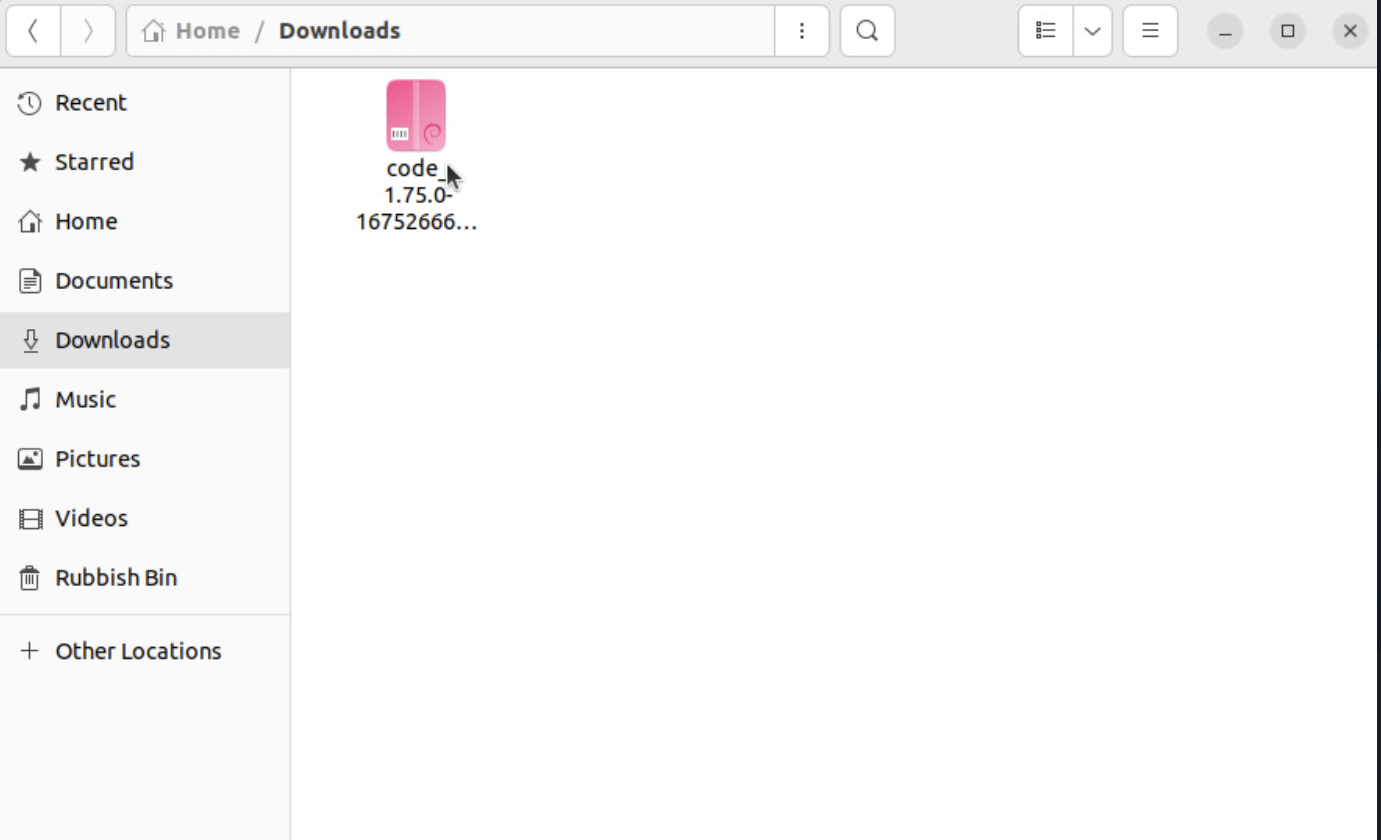
- Once located, we can begin the installation process. To do so, we simply need to do the following steps:
- Open your terminal and cd to the Downloads folder using this command: cd Downloads
- Now, if we use the “ls” command, we can see that our package is indeed in this directory
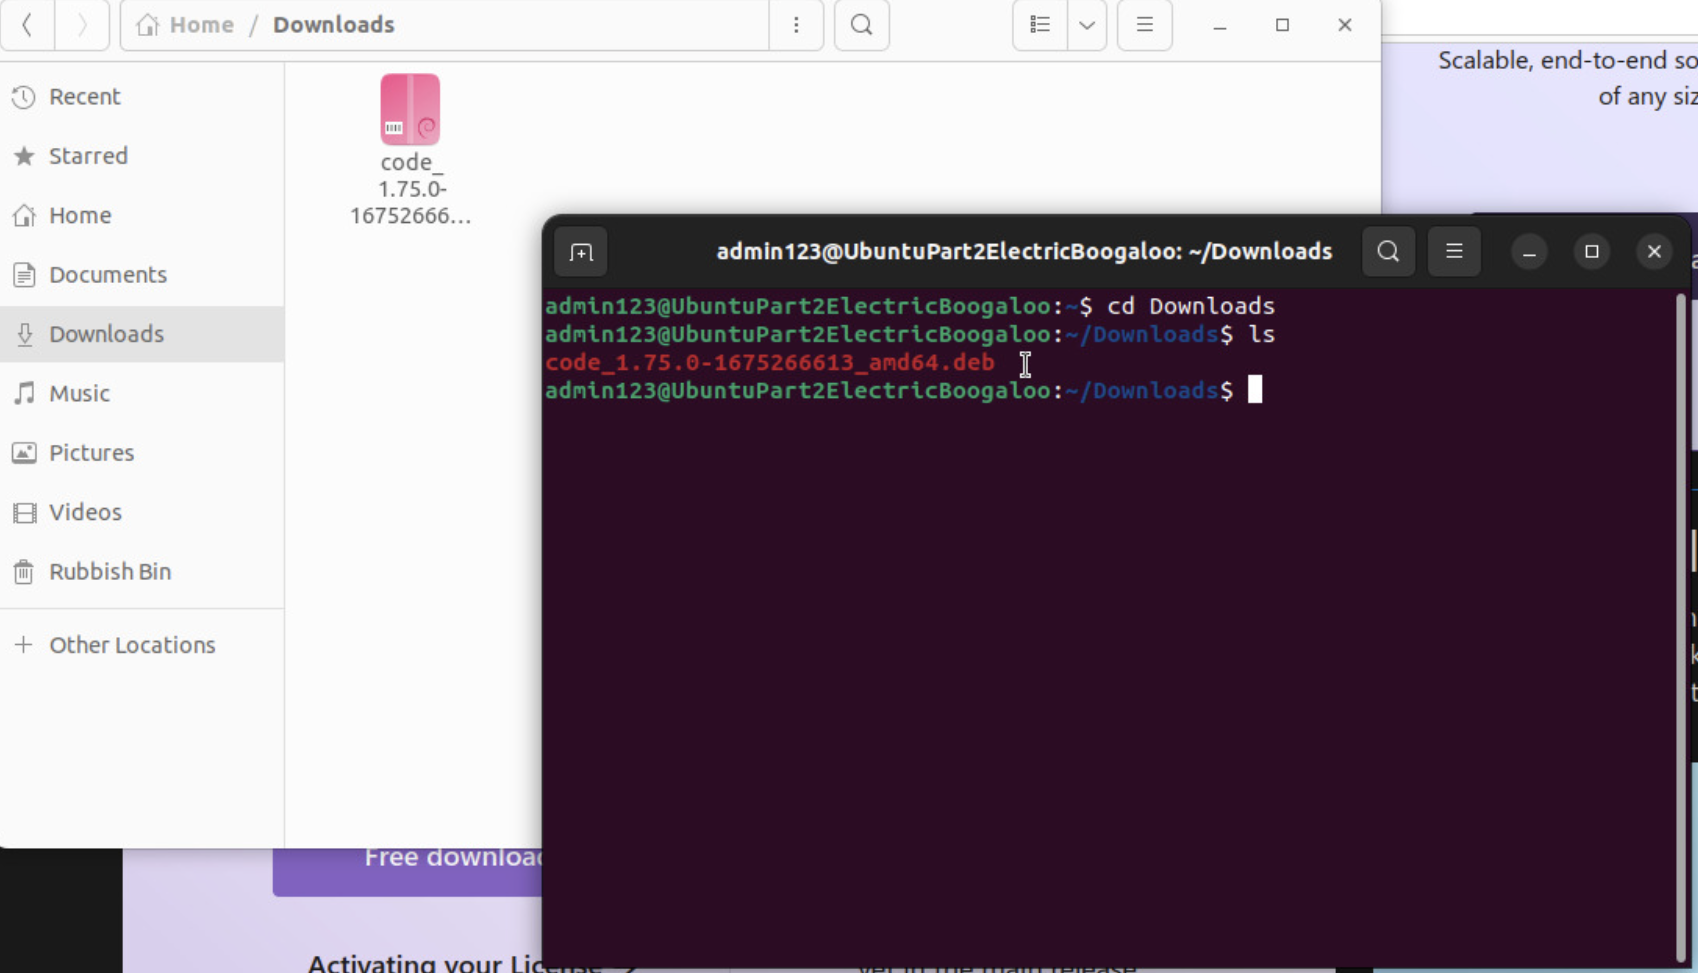
-
- Next, enter the command “sudo dpkg -i” followed by the file’s name to install the package.
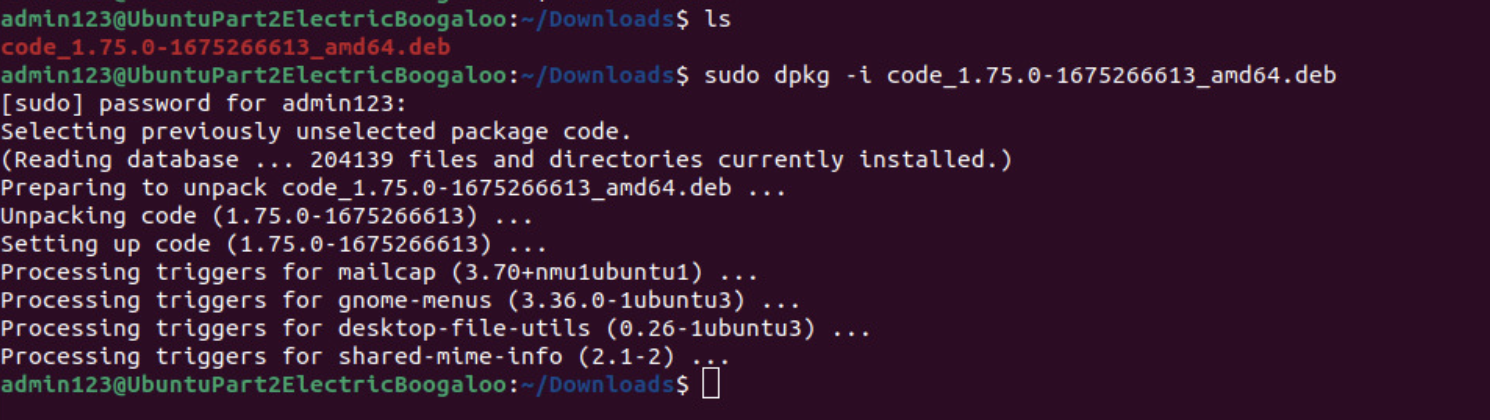
-
- Now, simply type code in the terminal (Or just search for the app on your machine) and Visual Studio Code will open right up. Easy as that.
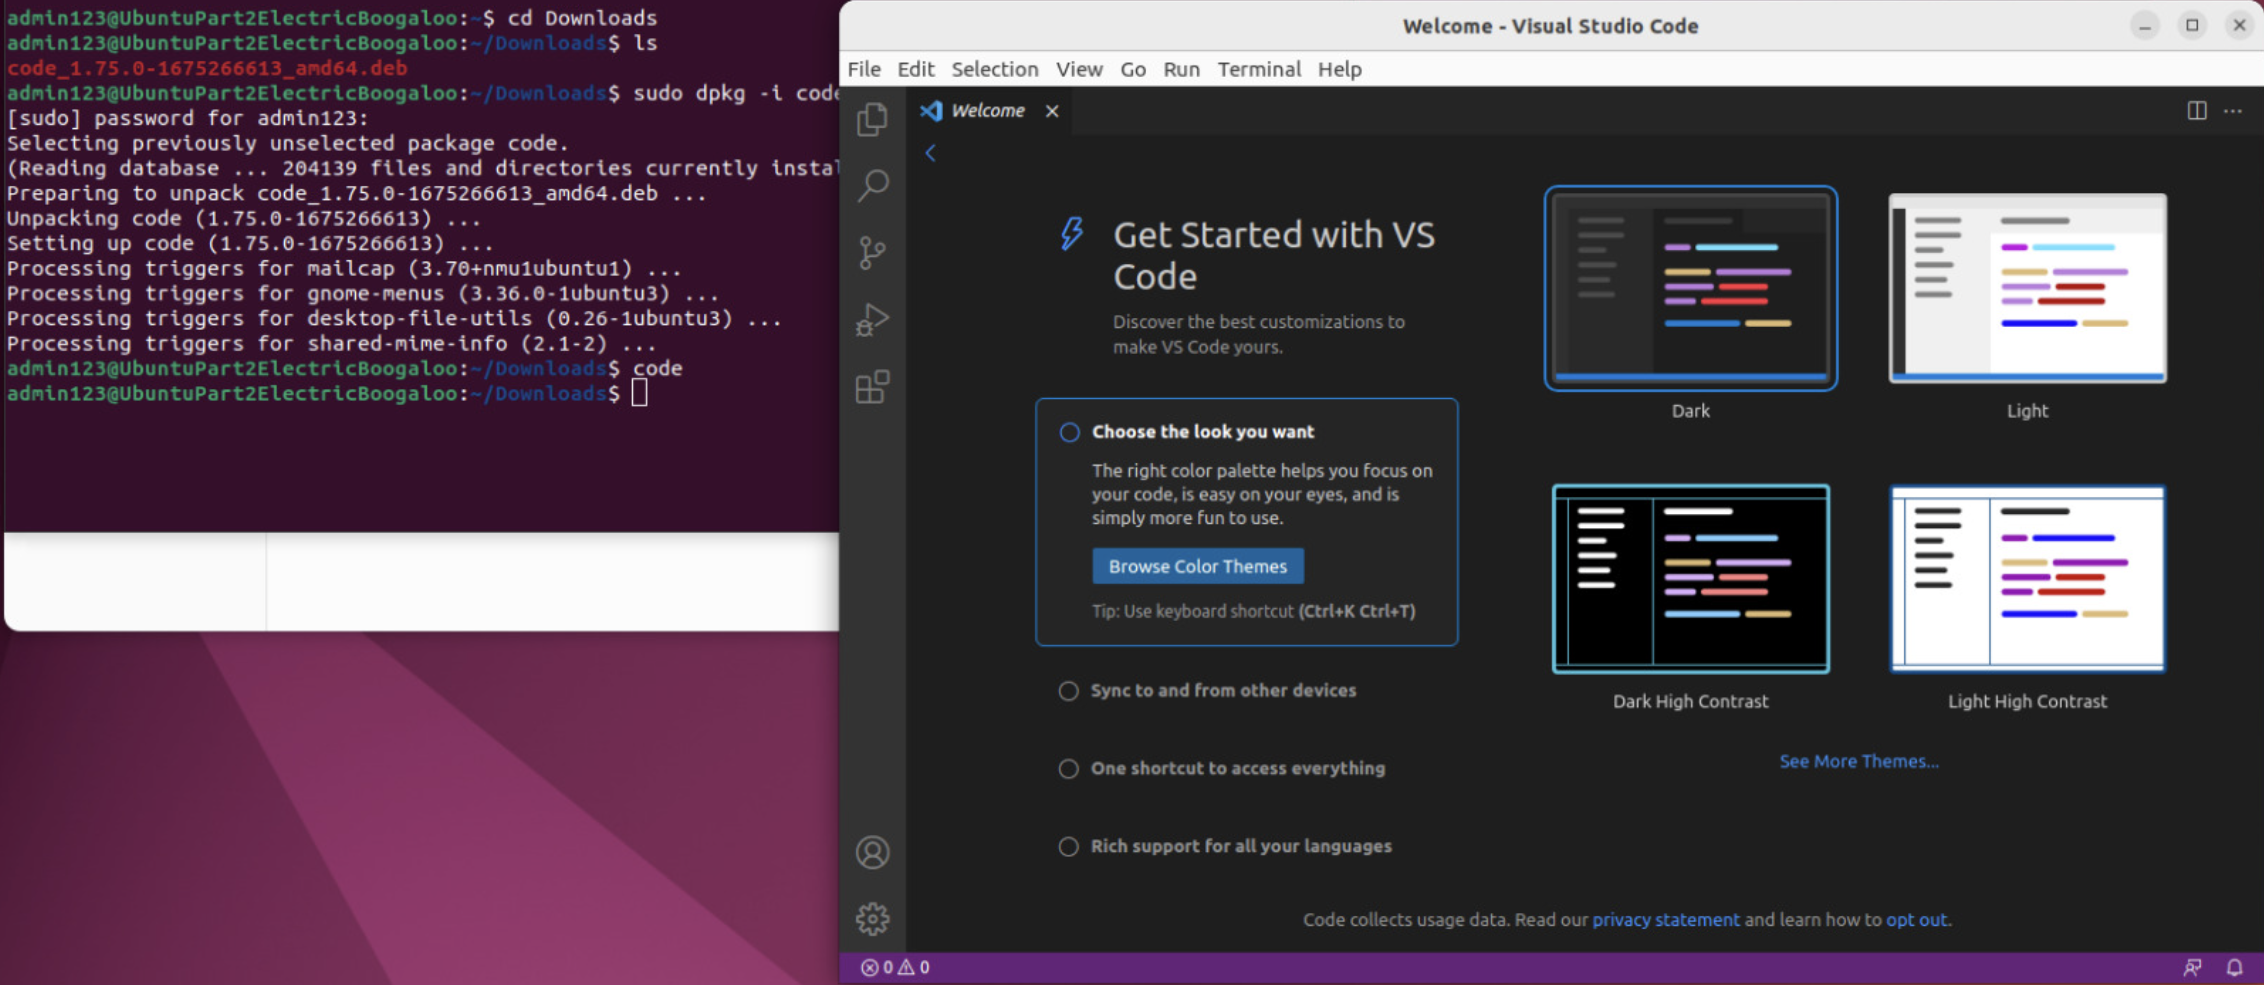
With that, we got Visual Studio Installed and ready to go on our Linux Ubuntu machine! By the way, if you are interested in learning how to do just that, check out our other blog articles! Like this one about the Bubble sort algorithm in C#! Or if you want to start your C# adventure from the bottom up, do not hesitate and start our 7-HOUR FREE C# Course! You might see .Net 6 there, but most of what you’ll learn is applicable to .Net 7 as well!
Conclusion: Installing Visual Studio on Windows, Mac, and Linux
Installing Visual Studio is straightforward, regardless of whether you use Windows, Mac, or Linux. Once you have installed the IDE, you can start building a wide range of applications, from desktop to web to mobile. Whether you are a seasoned developer or just starting out, Visual Studio provides all the tools you need to create great software.