


C# Load Testing helps to ensure that applications can handle high traffic and heavy loads without crashing or slowing down. C# is a popular programming language used for developing Windows applications, web applications, and services. In this article, we will discuss how to perform automated load testing in C# using the popular open-source testing tool: JMeter.
What is Automated Load Testing?
Automated load testing involves simulating a high volume of user requests to an application to assess its performance under stress. This type of testing can be used to identify bottlenecks in the application, such as slow response times, and to optimize the application’s performance for a better user experience. Automated load testing involves running tests that simulate multiple users interacting with the application simultaneously.
Why do we need Automated Load Testing in C#?
Automated load testing is necessary for ensuring that C# applications can handle high traffic and heavy loads. It is also essential for identifying performance issues and optimizing the application’s performance. Without automated load testing, it would be challenging to simulate a high volume of user requests, which could lead to slow response times, application crashes, and other performance issues. Once you detect performance issues in your application after the load-testing you can take the guides from this and this article to make your code more scalable using the discussed algorithm design techniques. Did you know that we offer a unique online course that boosts your C# career? Check it out here!
Tools Required for Automated Load Testing in C#
To perform automated load testing in C#, we need the following tools:
- The web application you want to load test. I’ll use the web application I created for the Data Transfer Objects article. This is the link to the Github repository.
- Apache JMeter: A load testing tool that can simulate a high volume of user requests to an application.
Steps for C# Load Testing
Now that we have the necessary tools, let’s look at the steps involved in automated load testing in C# using JMeter.
Step 1: Set up JMeter
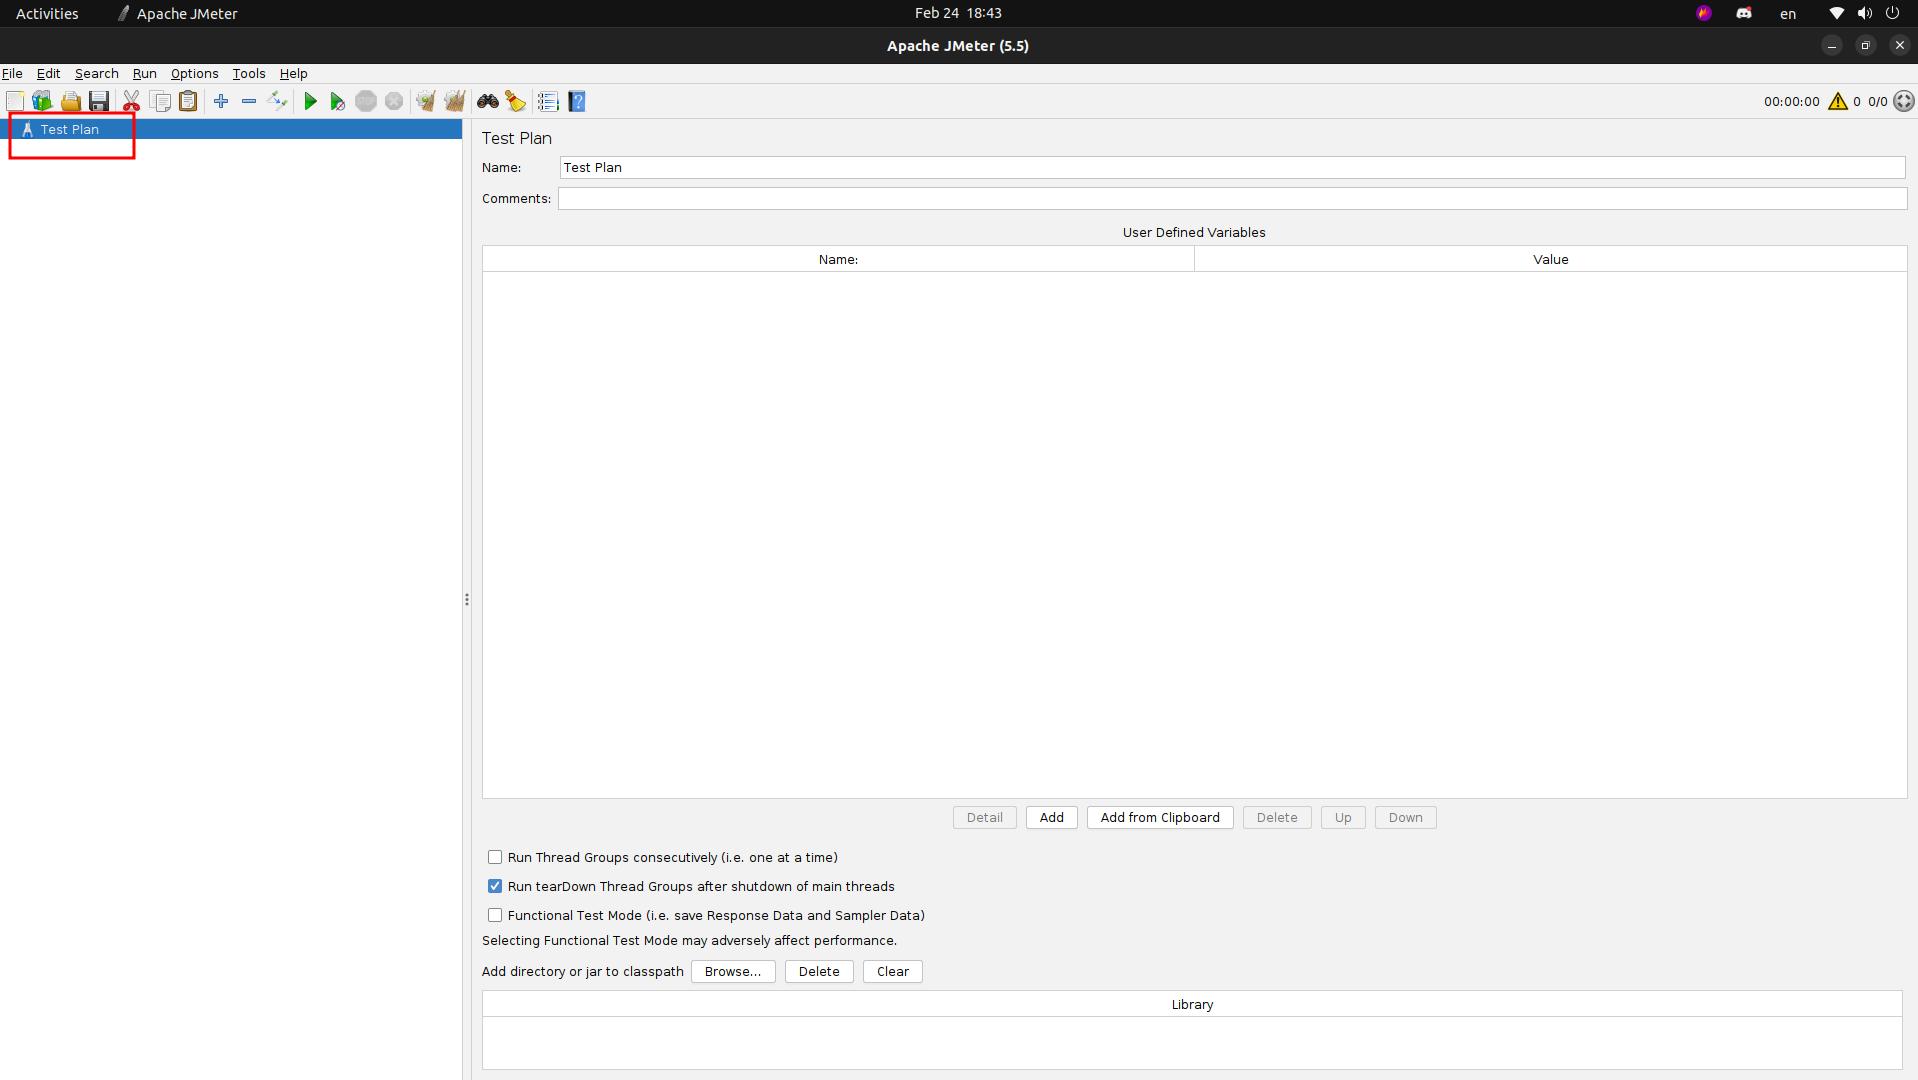
The first step is to download and install Apache JMeter. You can download the latest version from the Apache JMeter website. Once you’ve installed JMeter, open it up and create a new test plan (a plan is created for you by default when you open it).
Step 2: Add a Thread Group
A Thread Group is a group of users that will be simulated during the load test. To add a Thread Group, right-click on the test plan and select “Add” > “Threads (Users)” > “Thread Group”. In the Thread Group window, you can specify the number of threads (users) that will be simulated during the load test.

Step 3: Add HTTP Request
The HTTP Request sampler is used to send an HTTP request to a web server. To add an HTTP Request, right-click on the Thread Group and select “Add” > “Sampler” > “HTTP Request”.

Step 4: Setup the Test Parameters
In the HTTP Request window, you can specify the URL of the end-point you want to test. As I said I used the project I created for the Data Transfer Objects article.

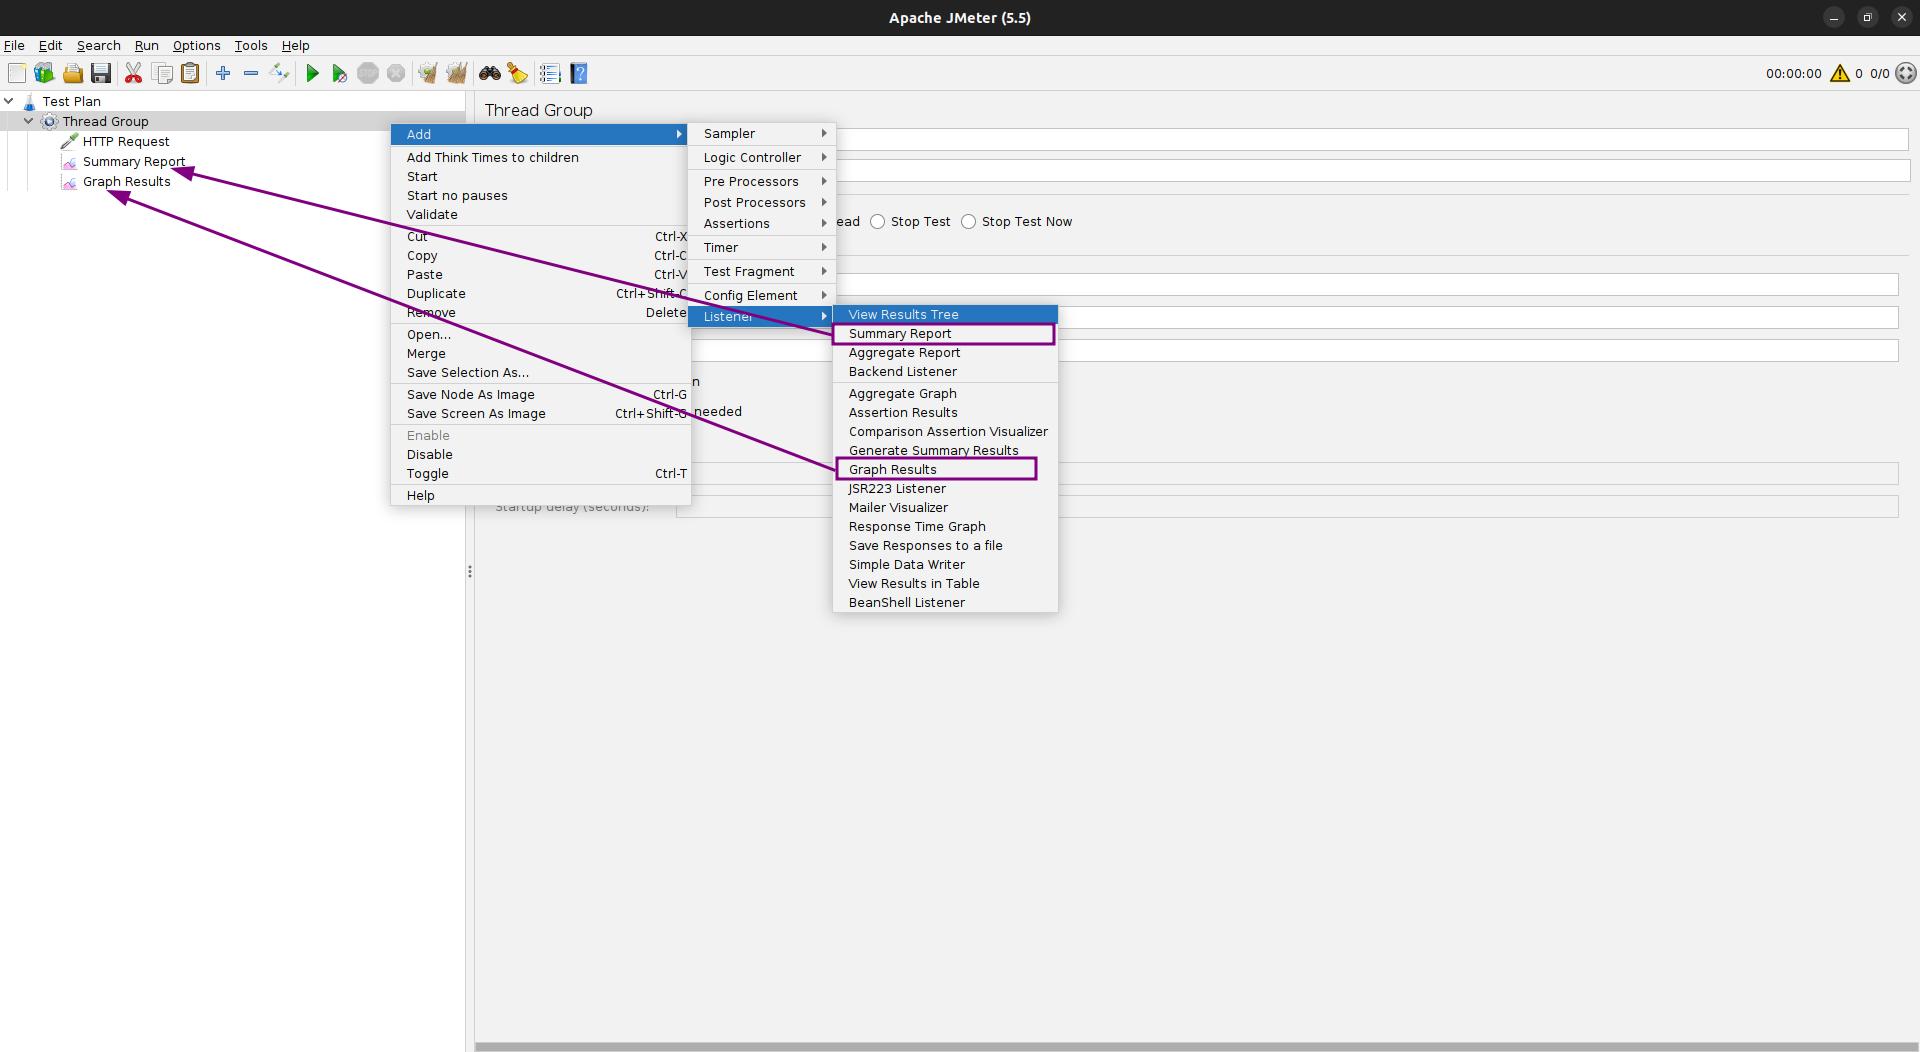
Step 4: Add Listeners
Listeners are used to view the results of the load test. To add a Listener, right-click on the Thread Group and select “Add” > “Listener”. There are many different types of Listeners available in JMeter, including the Summary Report, the Graph Results, and the View Results Tree. Let’s add the three of them.
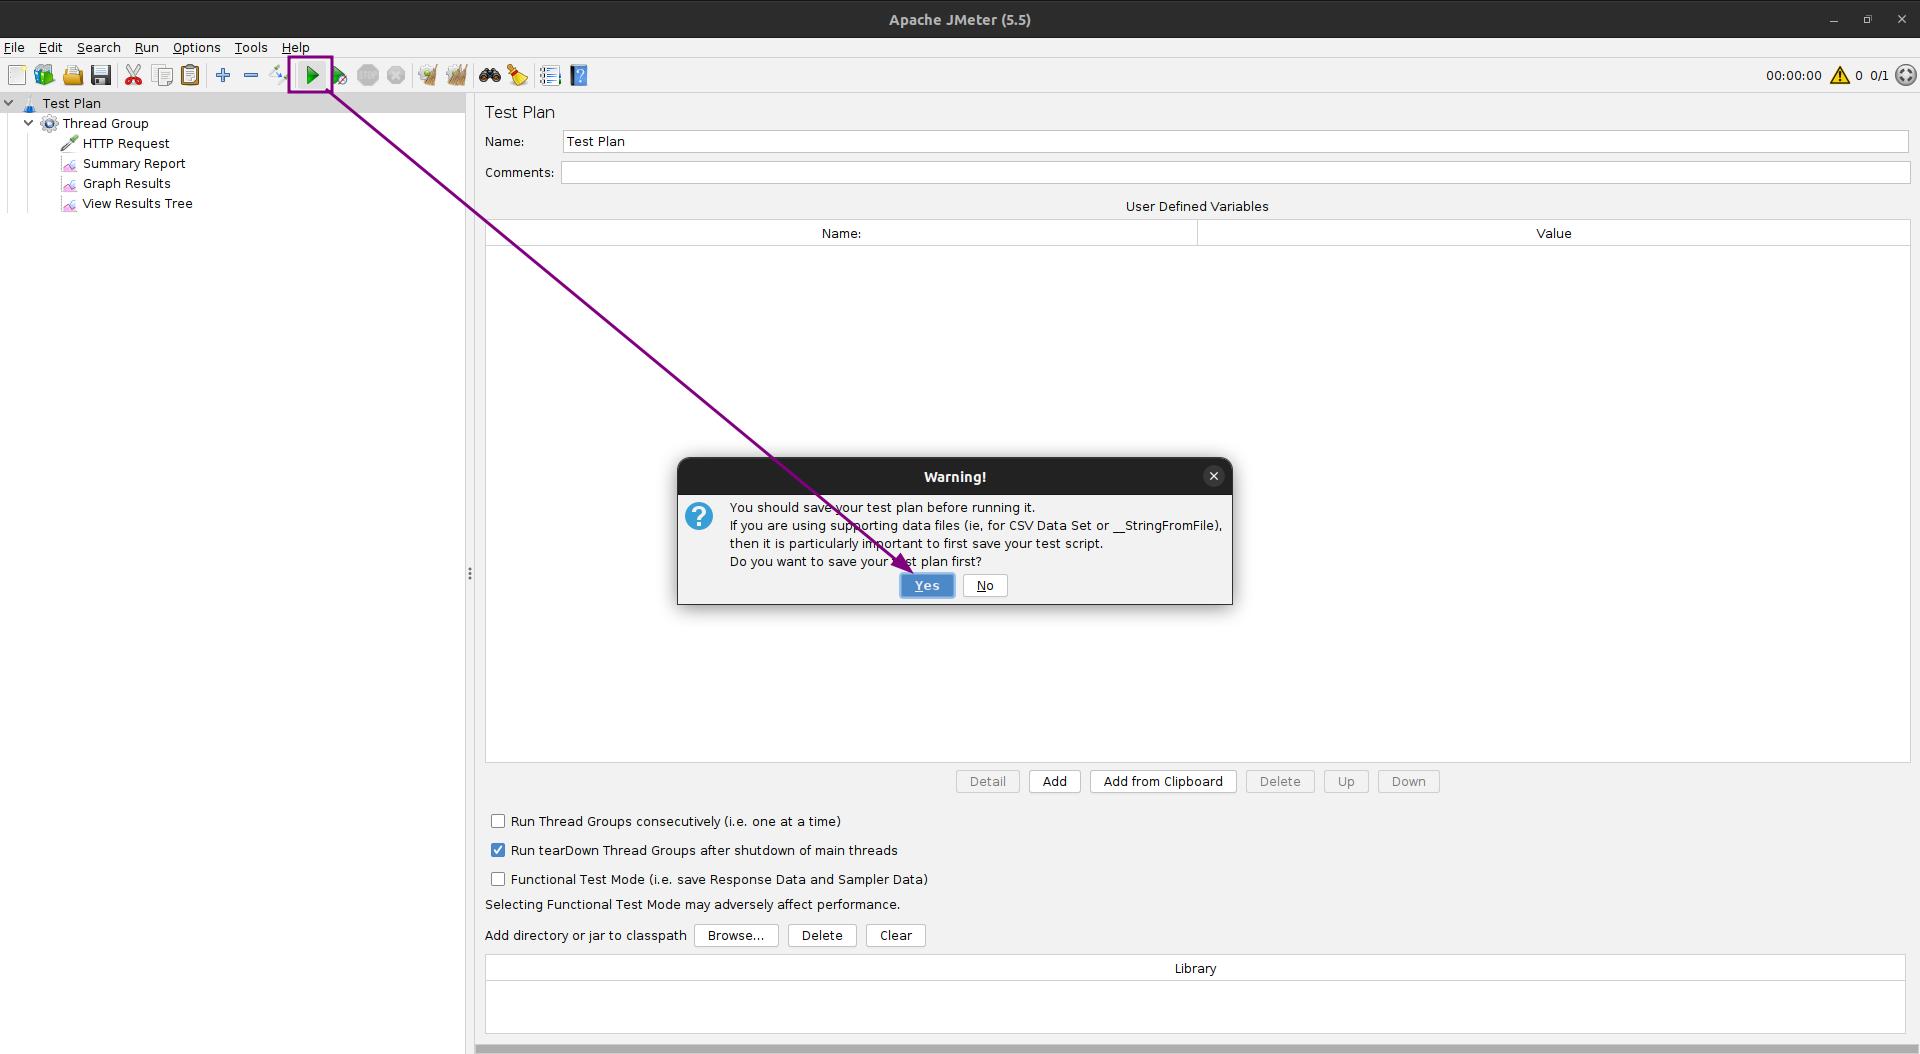
Step 5: Run the Load Test
Once you’ve set up your test plan, Thread Group, HTTP Request, and Listeners, you’re ready to run the load test. Click on the green “Play” button in the toolbar to start the test, and save your test to be able to run it as you need it.
Step 6: Viewing the Results
You can view the results of the load test in the Listeners that you added in Step 4. Click on each Listener to see the generated report.

Step 7: Set Load-Testing Parameters
Next, let’s increase the number of virtual users that access the
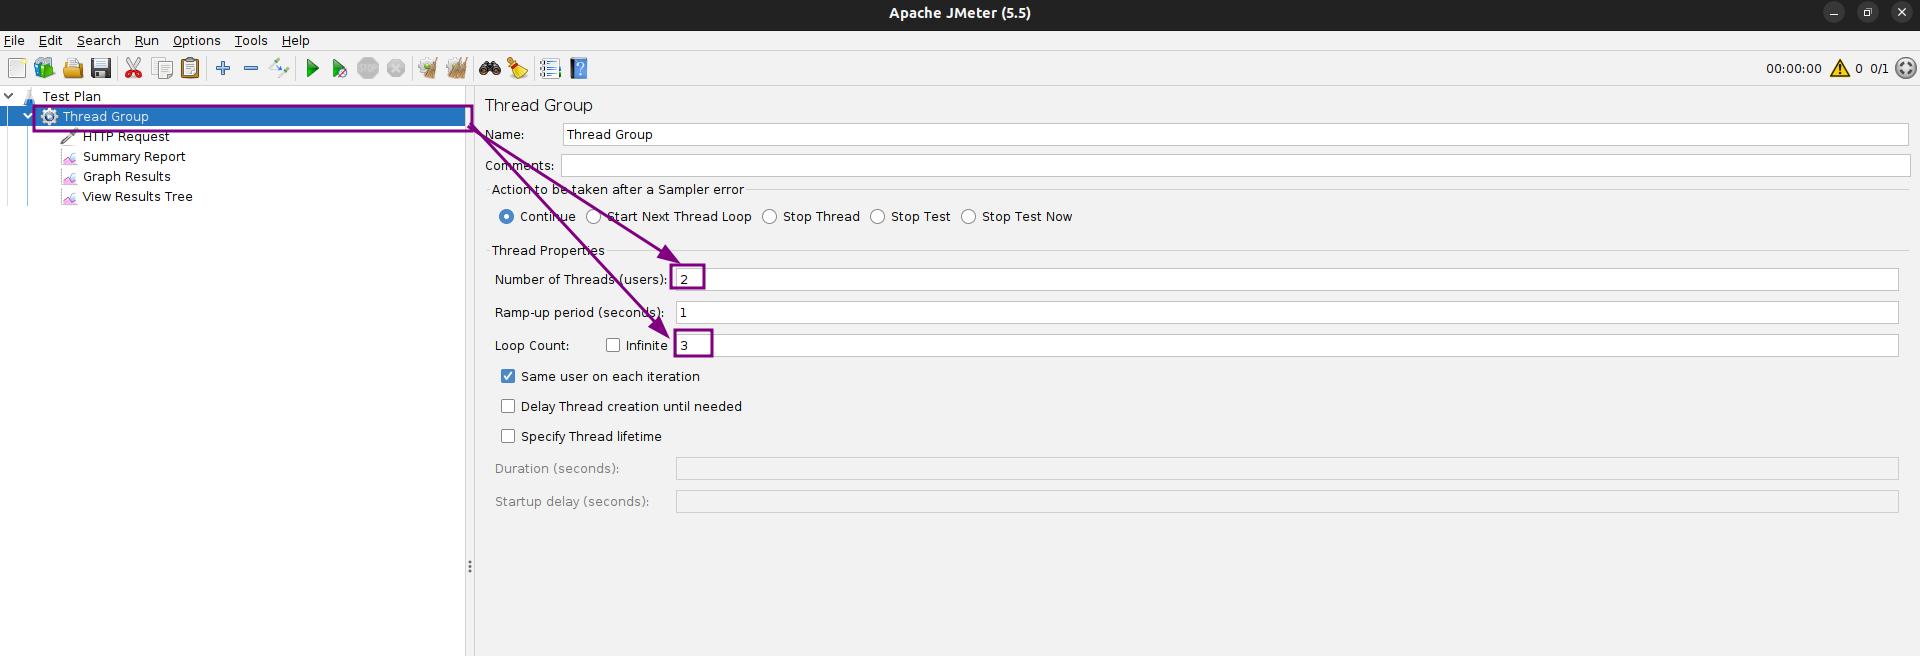
- The number of users is specified in the Thread Group and determines how many users (threads) will be simulated during the test. The higher the number of users, the greater the load on the web application.
- The Ramp-up period is also specified in the Thread Group and determines how quickly the users will be added to the test. For example, if the Ramp-up period is set to 10 seconds and the number of users is set to 100, JMeter will add 10 users to the test every second until there are 100 users running the test. The Ramp-up period can be useful for simulating a gradual increase in load on the web application.
- The loop count parameter also specifies the number of times that the test plan should be executed.
And let’s run the test for the last time.
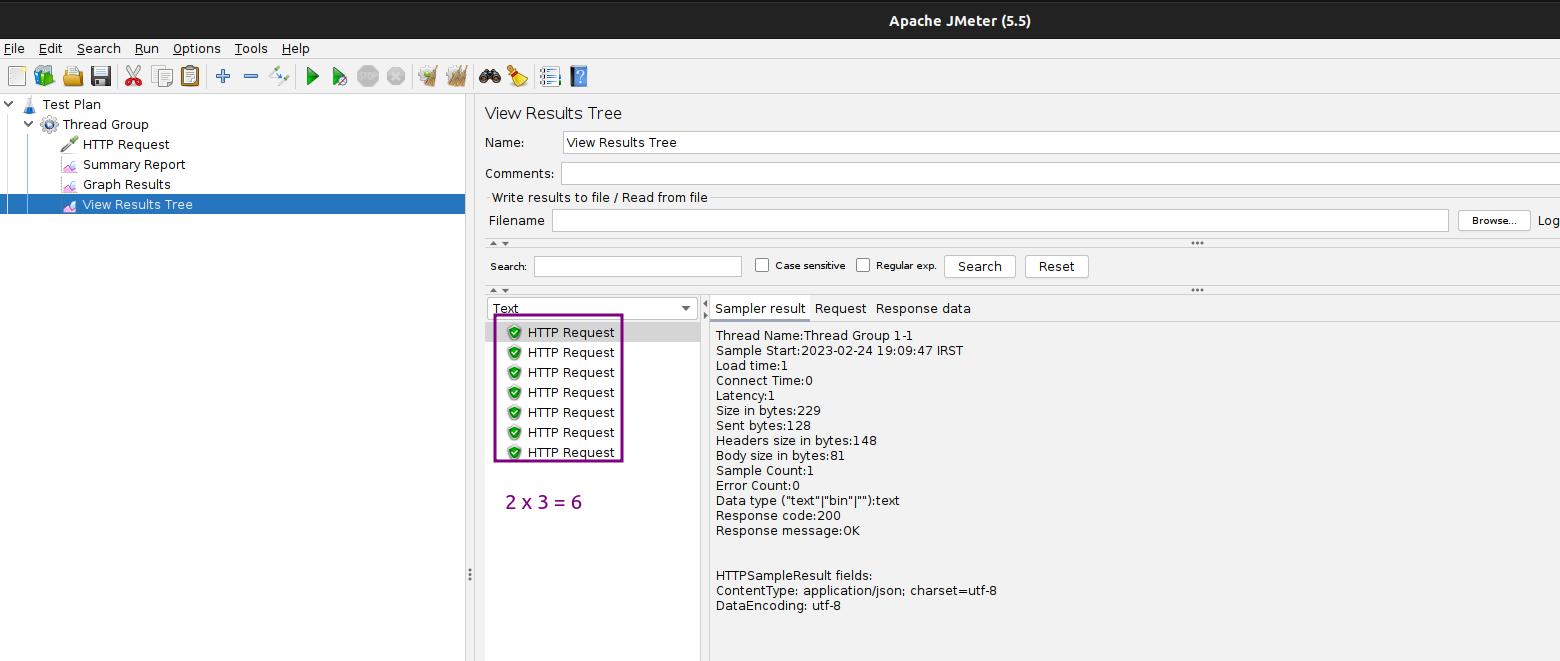
The test is run 6 times because we set the Number of Threads(users) to 2 and the Loop Count to 3.
Tips
Here are important load-testing tips to help you optimize the performance of your web application.
- Identify the critical path: The critical path is the set of transactions that are most important to your users. By identifying the critical path, you can focus your load testing efforts on those transactions and ensure that they are performing well under load.
- Define realistic scenarios: To accurately simulate real-world usage, you need to define realistic load testing scenarios. This includes the number of users, the types of requests, and the duration of the test.
- Use a test environment that mirrors production: To ensure accurate results, you need to use a test environment that is as close to production as possible. This includes hardware, software, and network configurations.
- Monitor performance metrics: During the load test, it’s important to monitor key performance metrics such as response time, throughput, and error rates. This will help you identify performance bottlenecks and optimize your web application.
- Use a tool that supports your testing needs: There are many load testing tools available, each with its own strengths and weaknesses. Choose a tool that supports your testing needs and provides accurate and actionable results.
- Automate load testing: Automating load testing can save time and ensure consistency in your testing process. This includes automating the creation of test scenarios, the execution of test scripts, and the analysis of results.
By following tips, you can optimize the performance of your web application and ensure that it can handle a large number of users without experiencing performance issues.
Conclusion
Load testing is an important step in ensuring that your web application can handle a large number of users without experiencing performance issues. Apache JMeter is a powerful and flexible tool for load-testing web applications. By following these steps, you can set up and run a load test using JMeter and gain insights into the performance of your web application under load. If you want to skyrocket your C# career, check out our powerful ASP.NET full-stack web development course that also covers test-driven development.