

Introduction
In this lecture, you will learn how to integrate in-app purchases into your Unity project.
You will learn:
How to use in-app purchases in Unity
How to deactivate ads with in-app purchases
How to add additional features like adding in-app money or in-app paid features
How to add a manager that will collect money in the game
Enabling The IAP
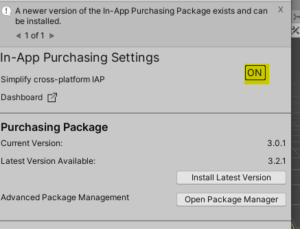
To do this we first need to enable the IAP (In-App Products) in the project settings.
In project settings → Services → In-App Purchasing.
Switch it on.
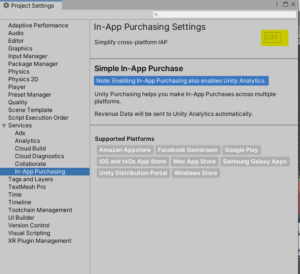
Now Unity will import the IAP Package.
After a while, it will be enabled.
Note: Enabling IAP will also enable Unity Analytics to collect data regarding your app revenue in one place since the IAP is a cross-platform service.
Signing and Building the App for Release
Before we upload the game to the play store we need to first sign the application using a key-store.
This key is proof that we are the owners or developers of this game.
We will need this key whenever we want to upload a new version to the store.
But before we do that we need to tweak few settings because…. play store rules!.
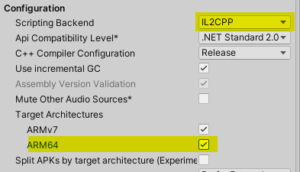
Go to Project Settings → Player.

Under Other Settings right after the middle.
![]()
Change the scripting backend to IL2CPP, and enable ARM64.
This way we support 64-bit architecture which is now a play store requirement, otherwise google won’t let us publish our application.
Now in the same menu go to the publishing settings.
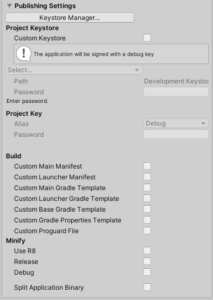
Click on Keystore Manager.

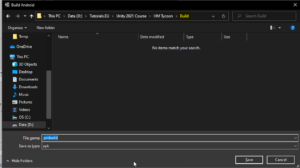
Select Create new key →In Dedicated Location.
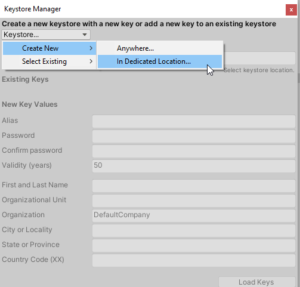
Store it somewhere safe.
For example, I stored it in the same path as the unity project, in a folder called Keystore.
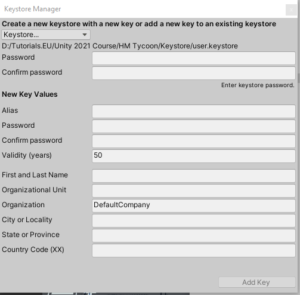
![]()
Fill in the required field and click the Add Key.
Note: Don’t forget the password, write it down, every time we open the project we will need to enter the password in order to build the game with the same Keystore.
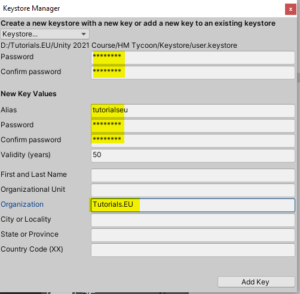
Hit Add Key, Then select Yes.

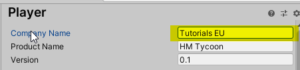
Finally, Change the company name to your company name.
Now let’s build the APK.
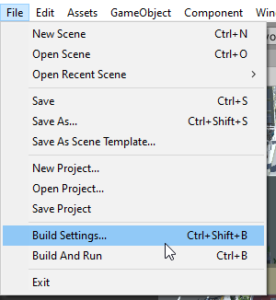
Name the APK to anything you want, I like to place them into a separate folder called build.
After a while (2~10 minutes).
![]()
This is the APK we will be uploading to the play store.
Store UI
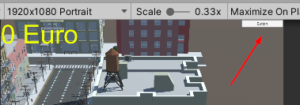
First, let’s create an in-game store UI.
Create a new button under our game UI, call it “Store Button”.

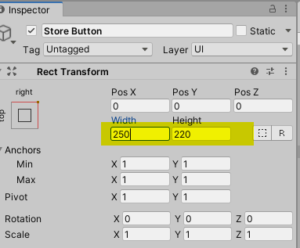
We want it to be on the top right of the screen.

Change its size.
Select its text.

Change the text’s font size, text, and color.


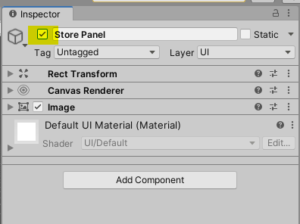
Duplicate our double money panel.
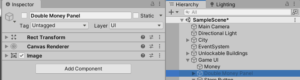
Enable it and rename it to “Store Panel”.

Remove the double money button and keep the close button.
![]()

Select the store button again.
For its click event, we want to set the store panel’s gameobject to be active.
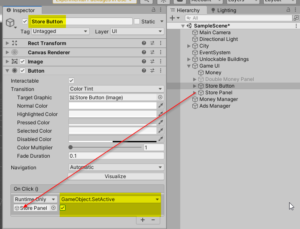
Now disable the store panel and test opening and closing the store menu.

Codeless IAP
Enable the store panel again.
right-click in the hierarchy → Unity IAP → IAP button.

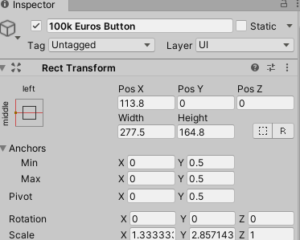
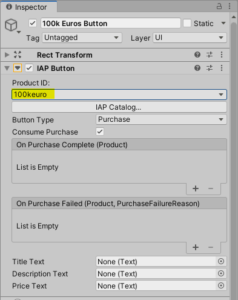
Name it “100k Euro Button”, Make it a child to our store panel.

The IAP button is a normal unity button but with extra scripts from the IAP package on it.
These scripts are what going to handle the IAP operation.
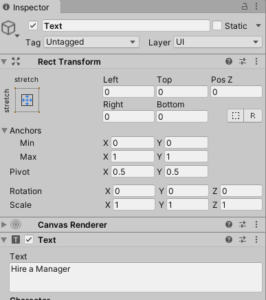
Change its position to be somewhere in the middle. and change its text and text size.

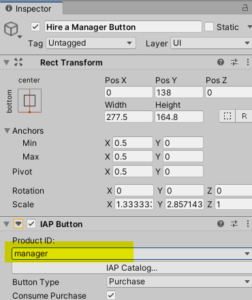
The IAP button has an IAP component on it.

Currently, we have no product ids because we did not add them to our IAP Catalog.
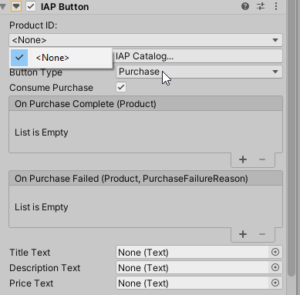
Click on IAP Catalog.
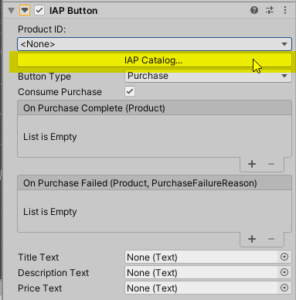
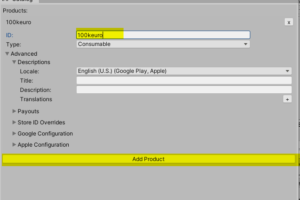
It will open this menu with one product added but missing its information.

These IDs are the IDs we used in our store page from the last lecture.

So we will add all of them to this IAP catalog.
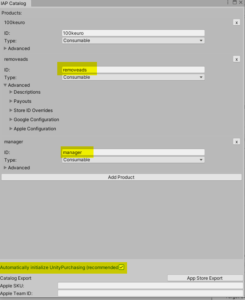
Add the first one which is “100keuro”, then click on add product.
Add the other 2 remaining products. and check auto initialize Unity Purchasing.
Now back to our 100k euro button.
Select the correct product ID.
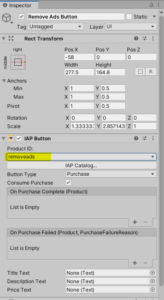
Duplicate this button twice for the other two products.
Change their positions on the panel and change their text.
Finally, select the correct product ID for them.
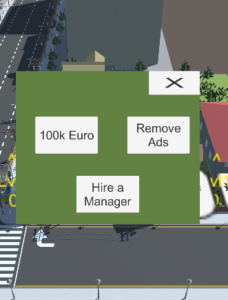
Remove Ads button:


Hire a manager button:
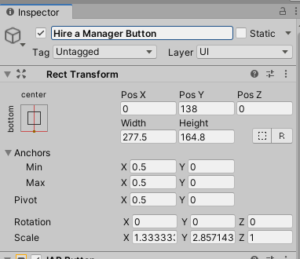
It should look like this
IAP Events
Now that we have our Buttons ready we only need to program our button event’s which will be executed if the purchase operation was done successfully.
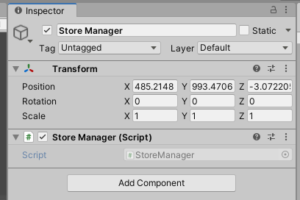
For that create a new gameobject called “Store Manager”.
Create and Attach a new script to it named “StoreManager”.
Remove the start and the update methods.
We will add the purchasing complete event for our 100k euro button.
|
1 2 3 4 5 |
public void On100kEuroPurchaseComplete() { //add 100k euro to our money manager. MoneyManager.instance.AddMoney(100000); } |
For our ads removed, we need to add a method as well.
|
1 2 3 4 |
public void OnRemoveAdsPurchaseComplete() { } |
Now if we remember from our ads lecture in our MonetizationStrategy Script.
Inside our SkippableAdsRoutine.
We are checking if the “adsRemoved” key value is 1 if it does not exist or it’s set to 0 we will get 0 by default unless we set it to one somewhere in our game.

And that’s exactly what we are going to do in our RemoveAdsPurchaseCompelete method.
|
1 2 3 4 5 |
public void OnRemoveAdsPurchaseComplete() { //set the adsRemoved key to 1 , meaning true PlayerPrefs.SetInt("adsRemoved", 1); } |
Finally for our Hire a manager button we will add the method but we will get into it in the next lecture.
But let’s add its method while we are at it.
|
1 2 3 4 |
public void OnHireManagerPurchaseComplete() { } |
Now all that is left is to link these methods to our IAP buttons.
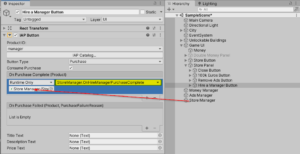
Select the 100k euro button.

Click on the + under On Purchasing Complete.

Then Drag and drop the Store Manager gameobject, select the StoreManager Script→ 100k euro event.

Repeat for the other two buttons.
Remove Ads Button:

Hire a Manager Button:
If we hit play and press the 100k euro button from our store we can see the IAP process working.
Of course, we can also upload a new build to the store and test it our selves.
Note: Even if we download the new APK from the store after we upload it, we can test the IAP for free and we won’t have to pay real money. that is because our game is not yet published.
Now disable the Store panel.
Manager Avatar
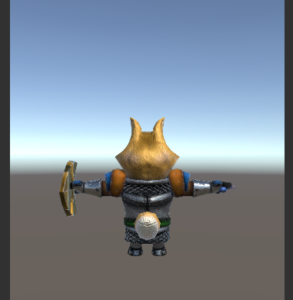
Import this Dog Knight PBR Polyart from talented Artist Dungeon Mason.

We will be using it as an avatar for our hired manager.
select this prefab from Assets → DogKnight → Prefab

Drag and drop it into the scene.
put it somewhere under the city we won’t be able to see from the main game camera.

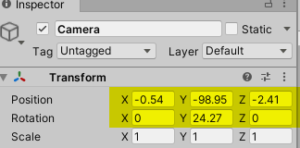
Create a camera.
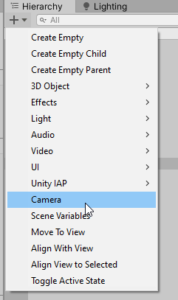
Put it a bit behind the dog avatar.

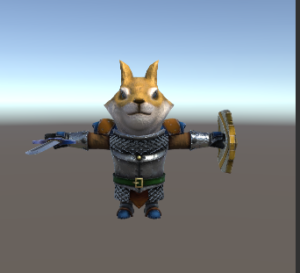
Rotate the doggo 180 degrees on the Y-Axis.

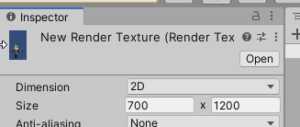
Create a Render Texture.
Which we will use as a rendering target for our camera.

Drag and drop this render texture into the target texture field of our new camera.

Create a raw image under our Game UI gameobject.
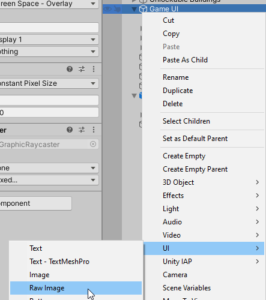
Rename it to “Dog Avatar”.
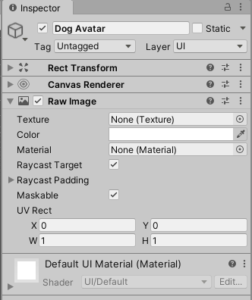
Drag and drop the Raw texture into the texture field of our raw camera.

Now our Dog Avatar is in the middle of the screen.
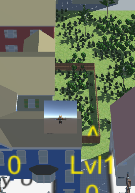
So let’s fix that.
Set the pivot and position of the raw image to the bottom left.

Change the width and height of our raw image to 700 X 1200.
Also, uncheck the raycast target because we don’t want this raw image to mask RayCasts from the camera that were meant to hit a button in our game.

Set the same width and height to the render texture.
Now we want our doggo to appear with transparent background.
Select the new camera we created.
Change the clear flags to solid color.
And make sure the background color is transparent by setting the alpha to 0.

Change the new camera position so that our dog avatar looks nicer.

Now if you hit play, the dog will perform different animations.
If you like it this way, so as if the dog were fighting to get the rent, it’s fine, it’s fun, but I will only keep the idle animation.
To do this select the dog model in the scene and double click on the animator controller.

Select the transitions coming out from the idle animation.

And delete them.

Now disable the Raw Image (Dog Avatar) under the game UI. We will enable it if the player hired the manager.
Profit Collector
Now we can’t name our manager just manager, because that’s confusing since we have different managers as well.
So we will call it “ProfitCollector”.
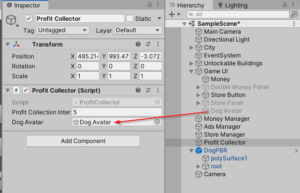
Create an empty gameobject rename it to “Profit Collector”.
Create and attach a script to this gameobject called “ProfitCollector”.
First, we need to collect the profits from the buildings every few seconds.
We also need to check if the manager is hired.
|
1 2 3 4 5 6 7 8 9 10 11 |
//the interval at which we will collect profits [SerializeField] private float profitCollectionInterval = 5f; //reference to our dog avatar (raw image) [SerializeField] private GameObject dogAvatar; //a variable to count the time internally private float profitCollectionTimer = 0; //a list of the buildings to collect profits from private List<Building> buildings; //a variable to check if the manager is hired, 0 means false, 1 means true private int isManagerHired = 0; |
In the start method. Check if the player bought the manager using the player prefs.
And initialize the buildings list and add the buildings to it.
Also, we need to enable the dog avatar if the manager was hired.
|
1 2 3 4 5 6 7 8 9 10 11 |
void Start() { //check if the manager was bought. if not return 0 which means false isManagerHired = PlayerPrefs.GetInt("isManagerHired", 0); //if the manager us hired turn the dog avatar on dogAvatar.SetActive(isManagerHired == 1 ? true : false); //initialize the list of buildings buildings = new List<Building>(); //find all the buildings components in the game and add them to our buildings list. buildings.AddRange(GameObject.FindObjectsOfType<Building>()); } |
In the Update method.
Check if the player hired the manager, then collect the profits based on the timer.
|
1 2 3 4 5 6 7 8 9 10 11 12 13 14 15 16 17 18 |
void Update() { //check if the manager is hired if (isManagerHired == 1) { //add the time passed to our timer profitCollectionTimer += Time.deltaTime; //if our timer is greater than the collection interval, it's time to collect profits. if (profitCollectionTimer >= profitCollectionInterval) { //reset the timer profitCollectionTimer = 0; //go through all the buildings one by one foreach (Building building in buildings) { //call the OnCollectProfitButton event as if we clicked on the building building.OnCollectProfitButton(); } } } } |
Finally, we need a public method to call when we want to hire the manager.
|
1 2 3 4 5 6 7 8 9 10 |
public void HireManager() { //the manager was hired. //set the isManagerHired to 1, which means true. isManagerHired = 1; //enable the dog avatar dogAvatar.SetActive(true); //save it in the player prefs PlayerPrefs.SetInt("isManagerHired", isManagerHired); } |
Now in our StoreManager class, when the player pays for hiring the manager, we need to call the HireManager method.
|
1 2 3 4 5 |
public void OnHireManagerPurchaseComplete() { FindObjectOfType<ProfitCollector>().HireManager(); } |
Finally, drag and drop the dog avatar (raw image) into the profit collector script.
Test the game by buying the first building then hiring the manager then waiting for it to collect profits.
And that´s it! It should be automatically collecting now and with this, we added In-App purchases!
