


Introduction to C# Foreach Loops
Welcome to our beginner-friendly tutorial on C# foreach loops.
No worries, you are not the only one confused by the foreach keyword and the loops you create with it.
Let’s get started by clarifying what a C# foreach loop even does.
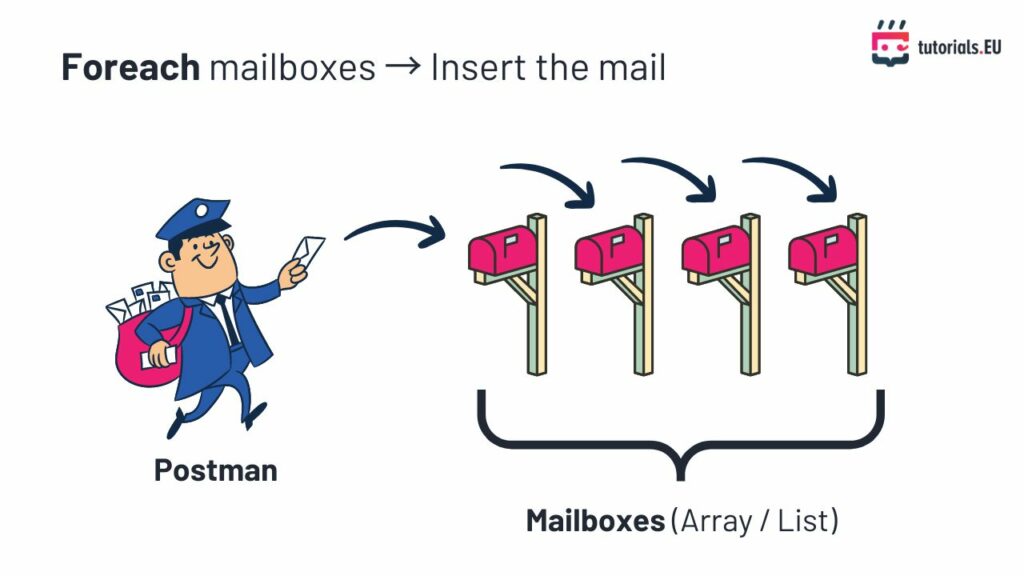
The foreach loop in C# provides a simple, clean way to iterate over collections such as arrays, lists, and more.
This loop is particularly useful when you need to perform actions on every element of a collection (like an array or a list) without worrying about the mechanics of the loop process, such as initializing counters or conditions for exiting the loop.
Here’s an illustration of that process:
Now let’s dive into some easy examples.
1. Iterating Over an Array
Let’s start with the most basic collection in C#: an array. An array of integers can be processed using a foreach loop as follows:
int[] numbers = { 1, 2, 3, 4, 5 };

foreach (int number in numbers) {
    Console.WriteLine(number);
}
In this example, the foreach loop goes through each element of the numbers array, assigns it to the variable number, and then executes the code inside the loop which, in this case, is printing the number.
2. Looping Through a List
Lists in C# are similar to arrays but are dynamic in size. Here’s how you can iterate through a List<int>:
List<int> numbers = new List<int> { 1, 2, 3, 4, 5 };

foreach (int number in numbers) {
    Console.WriteLine(number);
}
This works almost exactly like the array example, but with the flexibility that lists provide.
3. Iterating Over Strings
A foreach loop can also be used to iterate through a string or an array of strings, character by character or string by string:
string[] names = { "Alice", "Bob", "Charlie" };

foreach (string name in names) {
    Console.WriteLine(name);
}
This example prints each name in the names array.
4. Using foreach with Custom Classes
The foreach loop is particularly powerful when used with arrays of custom class objects. Consider a simple Car class:
class Car {
    public string Make { get; set; }
    public string Model { get; set; }
}

Car[] garage = {
    new Car { Make = "Toyota", Model = "Corolla" },
    new Car { Make = "Honda", Model = "Civic" }
};

foreach (Car car in garage) {
    Console.WriteLine($"{car.Make} {car.Model}");
}
Each Car object in the garage array is accessed one by one, and its properties are printed.
5. Mastering Nested C# foreach Loops with Custom Classes
Nested foreach loops can be extremely useful when dealing with collections of collections.
Imagine a scenario where each category contains multiple products.
Here’s how you can use nested foreach loops to handle such data structures:
class Category {
    public string Name;
    public List<Product> Products;

    public Category(string name) {
        Name = name;
        Products = new List<Product>();
    }
}

class Product {
    public string Name;
    public double Price;

    public Product(string name, double price) {
        Name = name;
        Price = price;
    }
}

var categories = new List<Category> {
    new Category("Electronics") {
        Products = {
            new Product("Television", 299.99),
            new Product("Radio", 49.99)
        }
    },
    new Category("Books") {
        Products = {
            new Product("C# for Beginners", 39.99),
            new Product("ASP.NET Core", 54.99)
        }
    }
};

foreach (Category category in categories) {
    Console.WriteLine($"Category: {category.Name}");
    foreach (Product product in category.Products) {
        Console.WriteLine($"  Product: {product.Name}, Price: {product.Price}");
    }
}
This structure allows you to loop through each category and then each product within that category, displaying details for each.
6. What’s Going On Under the Hood with C# foreach Loops
When you use a C# foreach loop, does a lot of work for you behind the scenes to make your code simple and clean. Here’s what happens:
- Getting an Enumerator: C# first gets something called an “enumerator” from the collection. This is like a helper that knows how to access each element in the collection.
- Checking for the Next Element: The enumerator checks if there is another element to process. If there is, it moves to that element.
- Running Your Code: The loop runs your code on the current element. This is where you do something with each item, like print it out.
- Repeating: This process repeats until there are no more elements left.
This process makes foreach loops very safe to use because you don’t handle the indexing or the elements directly, reducing the risk of errors like accessing out of range elements.
Conclusion: C# Foreach Loops
The foreach loop in C# is a versatile tool that simplifies the process of iterating through collections without the need for manual index handling. Its simplicity and readability make it an excellent choice for many programming scenarios, particularly when dealing with collections of objects.
Looking for more C# tutorials? Visit our C# related blog here.
Oh, and if you feel overwhelmed with coding, check out our developer membership (seriously, it’s worth it!). We help you master coding fast and easily.